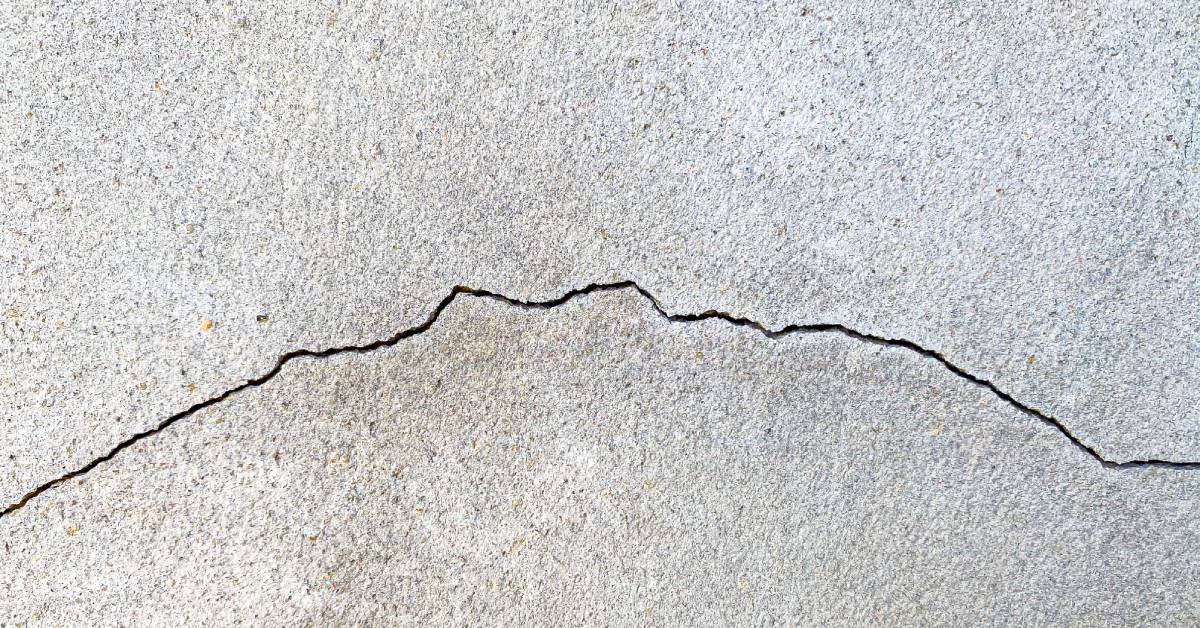
If you are a homeowner, you know that regular maintenance and repairs are crucial to keep your property in top shape. One common issue faced by stucco homeowners is cracks in exterior walls. These cracks not only compromise the aesthetic appeal of your home but can also lead to more significant problems if left unaddressed. That’s why it’s essential to know how to take care of stucco crack repairs quickly and effectively with elastomeric stucco.
Gather Materials
Start by gathering all the necessary tools and materials to ensure a smooth repair process. These include an elastomeric patching compound designed for stucco, a trowel or putty knife, fine-grit sandpaper, a paintbrush, exterior primer, a damp sponge or cloth, and exterior paint that matches the existing stucco on your walls.
Additionally, you might want a mixing device for the compound, a bucket for cleaning tools, and protective gloves to keep your hands clean during the process. Having all materials on hand will save time and frustration, allowing the repair to proceed more efficiently.

Clean the Area
Before starting the repair, thoroughly clean the cracked area to remove dirt, dust, or debris that might interfere with the patching compound’s adhesion. Use a stiff brush or vacuum to clean out the crack, ensuring it’s free of loose particles.
For deeper or stubborn dirt, wash the area with mild soap and water, scrubbing gently to avoid causing further damage to the stucco. Rinse with clean water, and pat the area dry with a towel, or let it air dry. This step ensures the patching compound bonds properly to the surface, giving you a long-lasting repair.
Prepare the Patching Compound
Follow the manufacturer’s instructions on the compound packaging to mix it to the right consistency. You must mix most compounds until they reach a smooth, thick paste that isn’t too runny or too stiff. This will make the compound easier to work with and guarantee it adheres securely to the crack. Mix thoroughly, breaking up any clumps and ensuring a uniform texture.
Apply the First Coat
Using a trowel or putty knife, apply a thin layer of patching compound over the crack. Start by pressing the compound firmly into the crack to fill it completely, ensuring that no gaps or air pockets remain. Once you’ve filled the crack properly, use your tool to smooth the surface, removing any excess compound and leveling it with the surrounding stucco wall. Take your time during this step to create a seamless repair that will blend in better when finished. If needed, go over the area gently with the edge of the trowel to refine the surface.
Let It Dry
Allow the first coat of the patching compound to dry completely before proceeding. You must also check the different drying times for the compound used, the thickness of the application, and environmental conditions such as temperature and humidity. Typically, this may take several hours or even overnight. Avoid touching the patch during this time so it sets properly and forms a strong bond.
Sand and Apply the Second Coat
Once the first coat has dried fully, lightly sand the area using fine-grit sandpaper to remove any rough edges or high spots. This step is crucial for creating a smooth surface that will blend seamlessly with the surrounding stucco. After sanding, use a damp cloth or sponge to wipe away dust and debris, ensuring the surface is clean before applying the second coat.
Then, apply the second coat of patching compound just as you did the first, pressing it into the crack and smoothing it out. Feather the edges of the patch to blend it more naturally into the wall. A second coat helps reinforce the repair with additional strength and durability.
Let It Dry Again
Patience is key during this step. Let the second coat dry completely, following the manufacturer’s drying time recommendations. Rushing this process can lead to weak adhesion or uneven results. Make sure the patch is fully set before moving to the next step to ensure a durable and professional-looking finish.
Sand and Finish
After the second coat has dried, sand the area again to smooth out any remaining bumps, ridges, or imperfections. Use gentle, even strokes with fine-grit sandpaper to avoid damaging the surrounding stucco. Once the sanding is complete, use a damp sponge or cloth to gently smooth over the area.
Prime the Repaired Area
Before painting, it’s essential to prime the repaired area. Choose an exterior primer formulated for stucco surfaces, as this will ensure proper adhesion of the paint and a uniform finish. Using a brush or roller, apply a thin, even layer of primer over the repaired section, extending slightly beyond the edges of the patch to blend it with the surrounding wall. Allow the primer to dry completely, as this creates a foundation for a smooth and cohesive paint job.

Paint To Match
The final step is to paint over the primed area to match the color and texture of your existing stucco wall. Use high-quality Elastomeric acrylic paint designed for stucco surfaces, and apply it evenly with a paintbrush, roller, or sprayer, depending on the texture you’re trying to achieve. For best results, apply at least two coats, letting each coat dry thoroughly before adding the next.
Take care to blend the paint into the surrounding wall to make the repair as invisible as possible. Once the paint is dry, step back and admire your work—a seamless repair that looks as good as new!
Additional Tips for Effective Stucco Crack Repair With Elastomeric
Addressing cracks in stucco walls promptly is crucial to prevent them from spreading and causing bigger problems. It’s also important to check the weather forecast and avoid working in extreme temperatures or wet conditions that could get in the way of proper repair. Be sure to also regularly inspect your stucco walls for any signs of damage, and address them immediately. To prevent future cracks, maintain proper drainage around your home, and resolve any foundation issues.
Stucco crack repair with Elastomerics may seem like a daunting task, but with the right knowledge and tools, you can easily achieve it. When you understand the causes of cracks and follow our step-by-step guide, you can effectively repair any cracks in your elastomeric stucco walls and keep them looking flawless for years.
Here at Stuc-O-Flex, we make stucco crack repair with elastomeric easy, but to take care of cracks, you have to spot them. Remember to regularly inspect your walls for signs of damage, and work with us to repair them promptly.
Leave a Reply